|
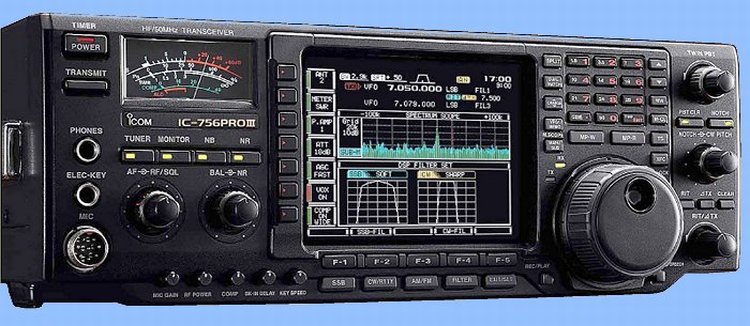
CAT - Software "TRX-Manager" V3.7.6 from Laurent Labourie, F6DEX
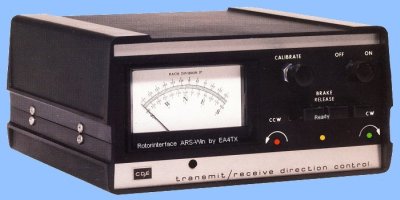
Rotator Controler with Rotor Interface: "ARS-Win"- rotor interface from J. Pablo Garcia, EA4TX
CAT - Interface: "DIGI KEYER"- Computer Aided Transeiver Contorl from MicroHAM
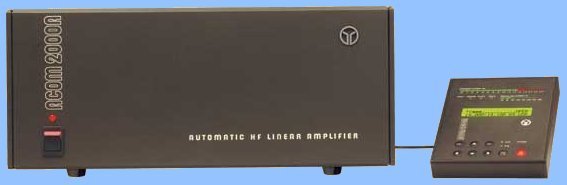
Power Amplifier: "ACOM 2000 A"- Automatic Power Amplifier 160 - 10m (1500 W) from ACOM
One glance at the PC monitor and the precalculated propagation forcast of the CAT- and / or logging program will give you a hint if an answer call will be promising. And if so, it will make suggestions whether it is more sensible to call via the long path rather than direct. Thus, you may decide within a second if you are going to make your call and if so, it will be performed under the best possible conditions. Another glance at the PC monitor and you'll realize whether you already have worked the traced DX-station earlier and if so, how often, when, at what time, band and mode. You may either call direct using your desktop or studio microphone or if you prefere to save your voice via push button or mouse click from the transeiver's or PC's digital voice recorder. Multi-element selftuning directional Yagi: "4-Element Yagi 13.8 - 54 MHz - SteppIR" from SteppIR
Logging Software: ōSwissLogö V5.20 from Walter Baur, HB9BJS
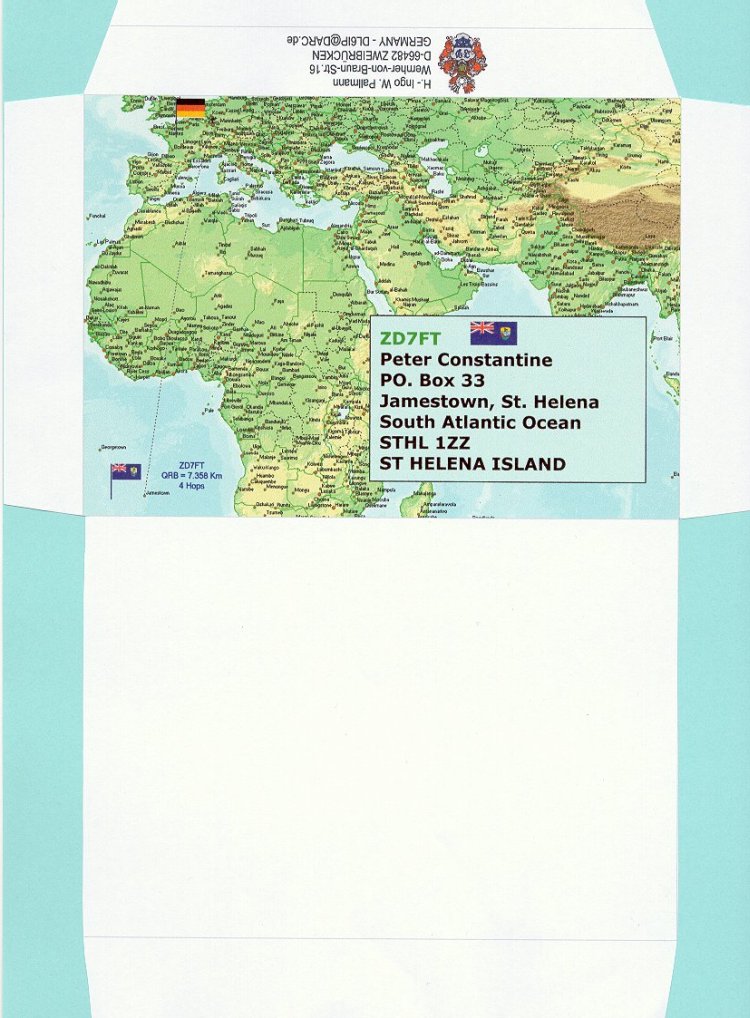
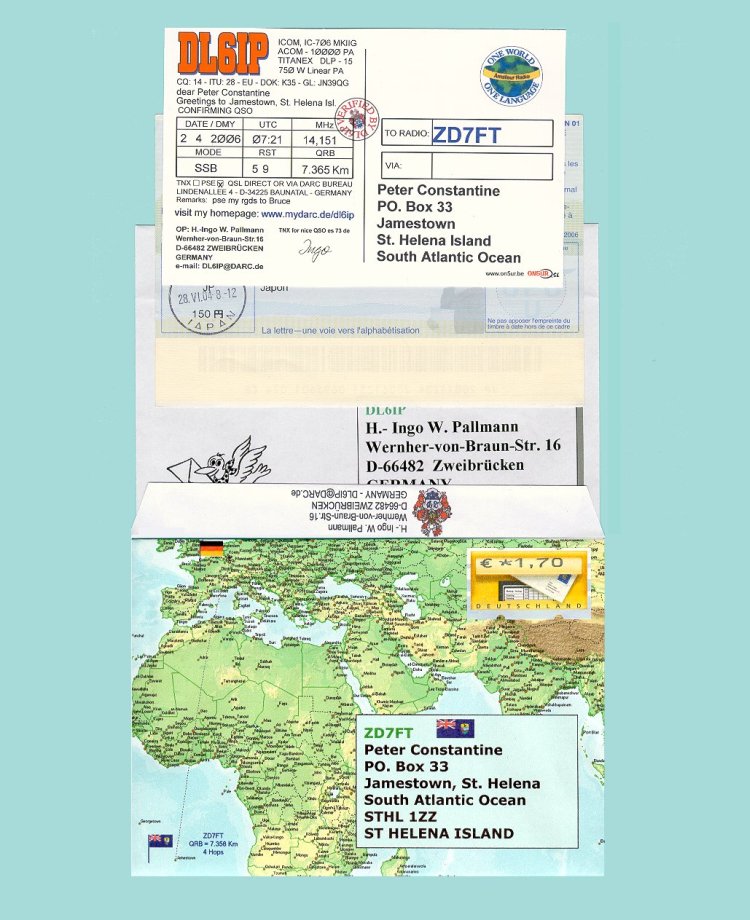
Even though there might be strong QRM on the frequency, you might succeed in working the DX-station and another mouse click and the QSO will be properly saved in the logging program. Via the cable connection the operating frequency and mode will be taken over from the transeiver in real-time by the CAT-software. The logbook entry in the logging program will automatically be supplemented by additional information such as: the QSO-partner's address, QSL-Manager info, IOTA-, DOK- or other relevant data, obtained from the Call-Book CD-Rom saved on the PC's harddrive or thru the internet from QRZ.com, oh2aq.kolumbus.com or other sources. Any required data that wasn't obtainable automatically may be entered manually thru the PC's keyboard. From the logbook entry you may also recognize if your QSO partner wants the QSL card to be exchanged thru the bureau or strictly direct via mail. If you like to receive your QSO partner's QSL card you have sometimes no choice but to mail your QSL card together with an IRC (International Reponse Coupon) or 1-2 US $ and a SAE (self addressed envelope) to your QSO partner. In this case you'ld mark the corresponding QSO in the logging program for direct printing. The QSLs of all of the QSOs will typically be printed once per month and handed over to the responsible QSL Manager of your local Amateur Radio Club who will ship them on, together with those of the other club members to your national Amateur Radio Association. Of course you may continue to fill in your QSL cards manually, but the advantages of automatic printing can't be dismissed: The QSL cards are precisely printed, sorted according to the predetermined QSL-rules and none will be forgotten. Sending QSL-cards via mail is quite expensive. If you are already into spending a lot of money for "buying" an "exotic QSL-card" , you could spend some extra effort on your envelope. Besides attractive stamps, which are not available in all countries, there are other means to diversify the design of an "QSL-envelope". What requesitions are there in making an envelope more attractive? Ģ It must be just slightly larger than the standard size envelope so it can take your QSL-card, IRC and SAE unfolded. Ģ Its appearance should be attractive.
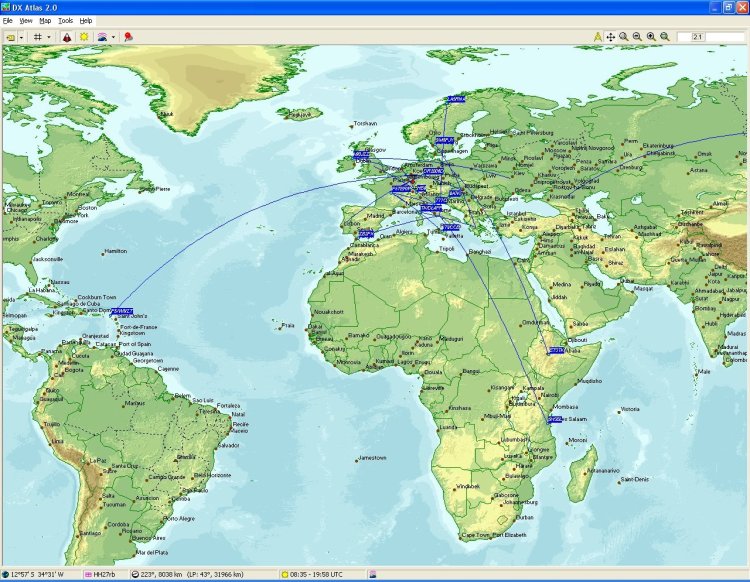
Because an envelope meeting my criteria was not available right off the shelf and I didn't want to fold my SAE and IRC, I decided to design and generate my own QSL-envelope. I can size and design it as I want it to be and the receiver will be happy once he holds it in his hands. In the meantime, I have developed such a routine designing and fabricating my own QSL-envelopes that the expenditure of time has become unimportant. And this is what my self-developed and optimized QSL-envelope looks like: It's rather easy. All you need is a PC with standard software, a full colour printer, standard-size letter paper a pair of scissors, a glue stick, some imagination as well as some skills. I generated the "basic formate" using the drawing tools of MS Word. As supporting software, I utilise the "DX-Atlas 2.24" from OM Alex Shovkoplyas VE3NEA http://www.dxatlas.com/ to show the most suitable section of the world map in azimutal projection in each case. Digital DX-Atlas: ōDX-Atlasö V2.25 from Alex Shovkoplyas, VE3NEA
The DX-Atlas offers a lot of interesting features. I.e. it can show the signal path between my QSO-partner and myself. I use the "snapshot" function of my picture editing program "COREL PAINT SHOP PRO X" http://www.corel.com so that the selected section of the "DX-Atlas" map showing the signal path will not be in any conflict with the address field and the reserved space for the stamp. With this or any other picture editing program I can modify the generated background image as I want. For instance, I can add the flag of my QSO-partner's and my country. I can add information such as my QSO-partners and my callsign, the distance between us (QRB) in km or miles or the number of hops or number of reflections on the signal path that were needed for the QSO. And this is how I generate my "SDE" self designed envelope: Ģ First of all, I open the "basic formate" in MS Word. I copy the address from QRZ.com, buckmaster.com, Callbook CD-Rom or from my Swisslog entry and paste it to the address field of my MS Word document. Ģ Next I open my picture editing program and activate the "snapshot" function. Ģ Now I open the "DX-Atlas" and show the signal path to my QSO-partner. Ģ With a right button mouse click I release the snapshot function of "Paint-Shop-Pro" and "catch" the wanted map section in the wanted size. Another click and the new picture shows up in "Paint-Shop-Pro". Country flags may be found here: www.flags.net/VANT.htm I add on information such as: QRB (distance) number of hops and / or country flags of my QSO-partner and save the whole picture in the clipboard. Ģ Now I switch over to the MS Word document and paste the image to the proper spot. Afterwards, I only need to format the picture: right mouse click - formate grafics - layout - behind the text. Eventually, I must resize the background picture to make it fit. - done. Ģ Print - cut out with a pair of scissors - fold and glue the laces - fold the envelope's backside and glue it to the lateral laces. Ģ Add your QSL-card, IRC and SAE (self addressed envelope). Close the envelope, stamp it ¢ and that┤s it. The necessary effort to generate such an envelope is far less than it appears to be, but one thing is for sure - whoever will receive such an envelope will show a smile in his face. 73 es Good DX de DL6IP, Ingo
Epilog All pictures shown and the described equipment, antennas and software do not represent a recomendation, but where chosen by chance and shall only demonstrate what can be done. Not mentioned at all in this outline are the almost unexhaustible possibilities in the frequency range above 50 MHz including all digital and special modes. The spectrum of equipment available on the market is very large and the equipment varies a lot with regard to its performance and layout. The individual OM┤s selection of hardware, antenna system and software depends largely on his individual interests and possibilities. |